Revell

T-55 ENIGMA PART 2 – PAINTING

Assembly is completed and I am well into the painting process.  At this point, after this post I will only have the tracks and some additional weathering to do, which fingers crossed will be really quick. Quick by my standards anyways, I’m forever impressed how much quantity and quality work some of you are able to put out.

IMG_20150207_144118 IMG_20150207_144008 IMG_20150207_144053

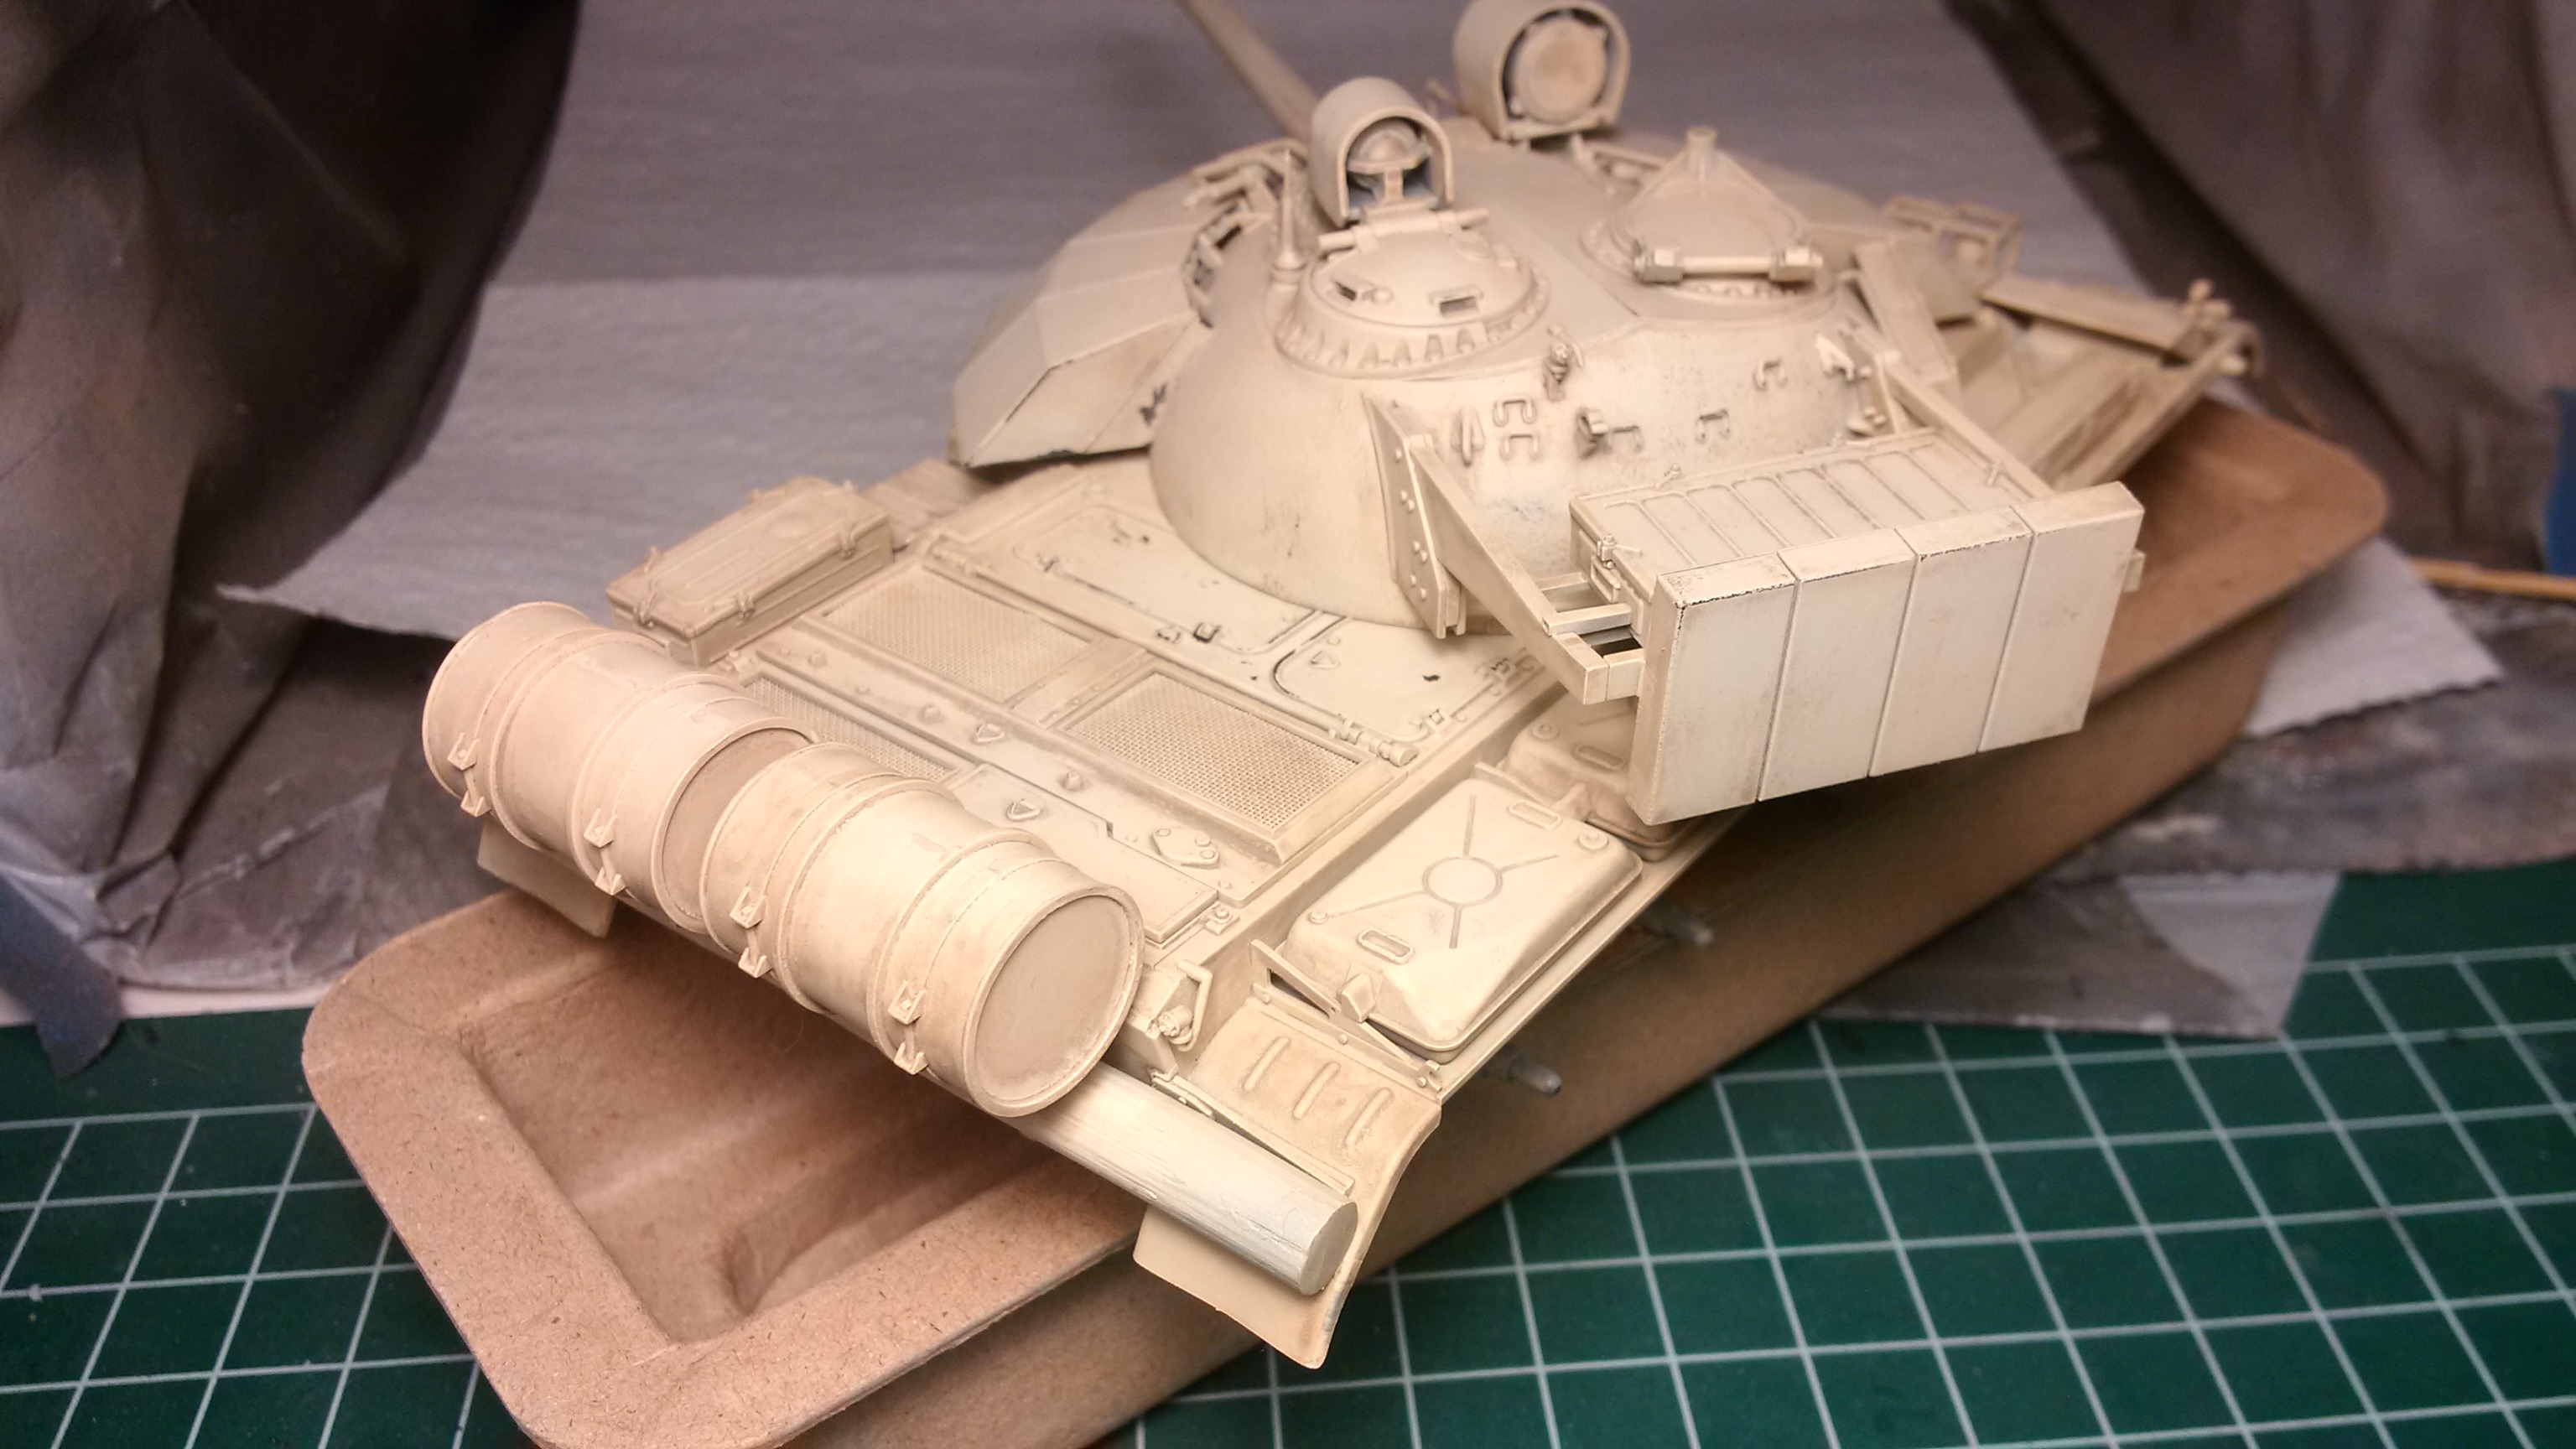
Priming was quick and painless. I ended up doing a bit of a test on a few parts to check my color selection. I had a few colors that I thought would work, but it’s funny the way colors change the way they look in the bottles looks to being on the model. Tetors Model Masters – Sand ended up the winner and I’m glad I didn’t pick the darker colors. The pictures above show only one coat of the sand and look different than the final product due where the primer isn’t still showing through.

At this point, I had to do a bit of sanding on the lower part of the turret. The fit of the turret was so snug that when it was attached and rotated, it scraped away some of the primer. After the sanding of the locator pins, it was perfect and the issue didn’t come up again.

It took me no time to paint the T-55. I was spurred on to keep going after my purchase of the Pledge Floor Finish or Future as most people know it. Everyone know’s that feeling of instantly needing to try something right after buying it! So I cover the model with “Future” and attempted to give it a wash.

<< No pictures got take here, sorry >>

To make my wash I ended up mixing my dark brown, yellow and white oil paints in some mineral spirits. However, it was not as thin of a solution as I should’ve had, so I thought I ruined the model. It looked like it got smeared with mud.

IMG_20150219_215614

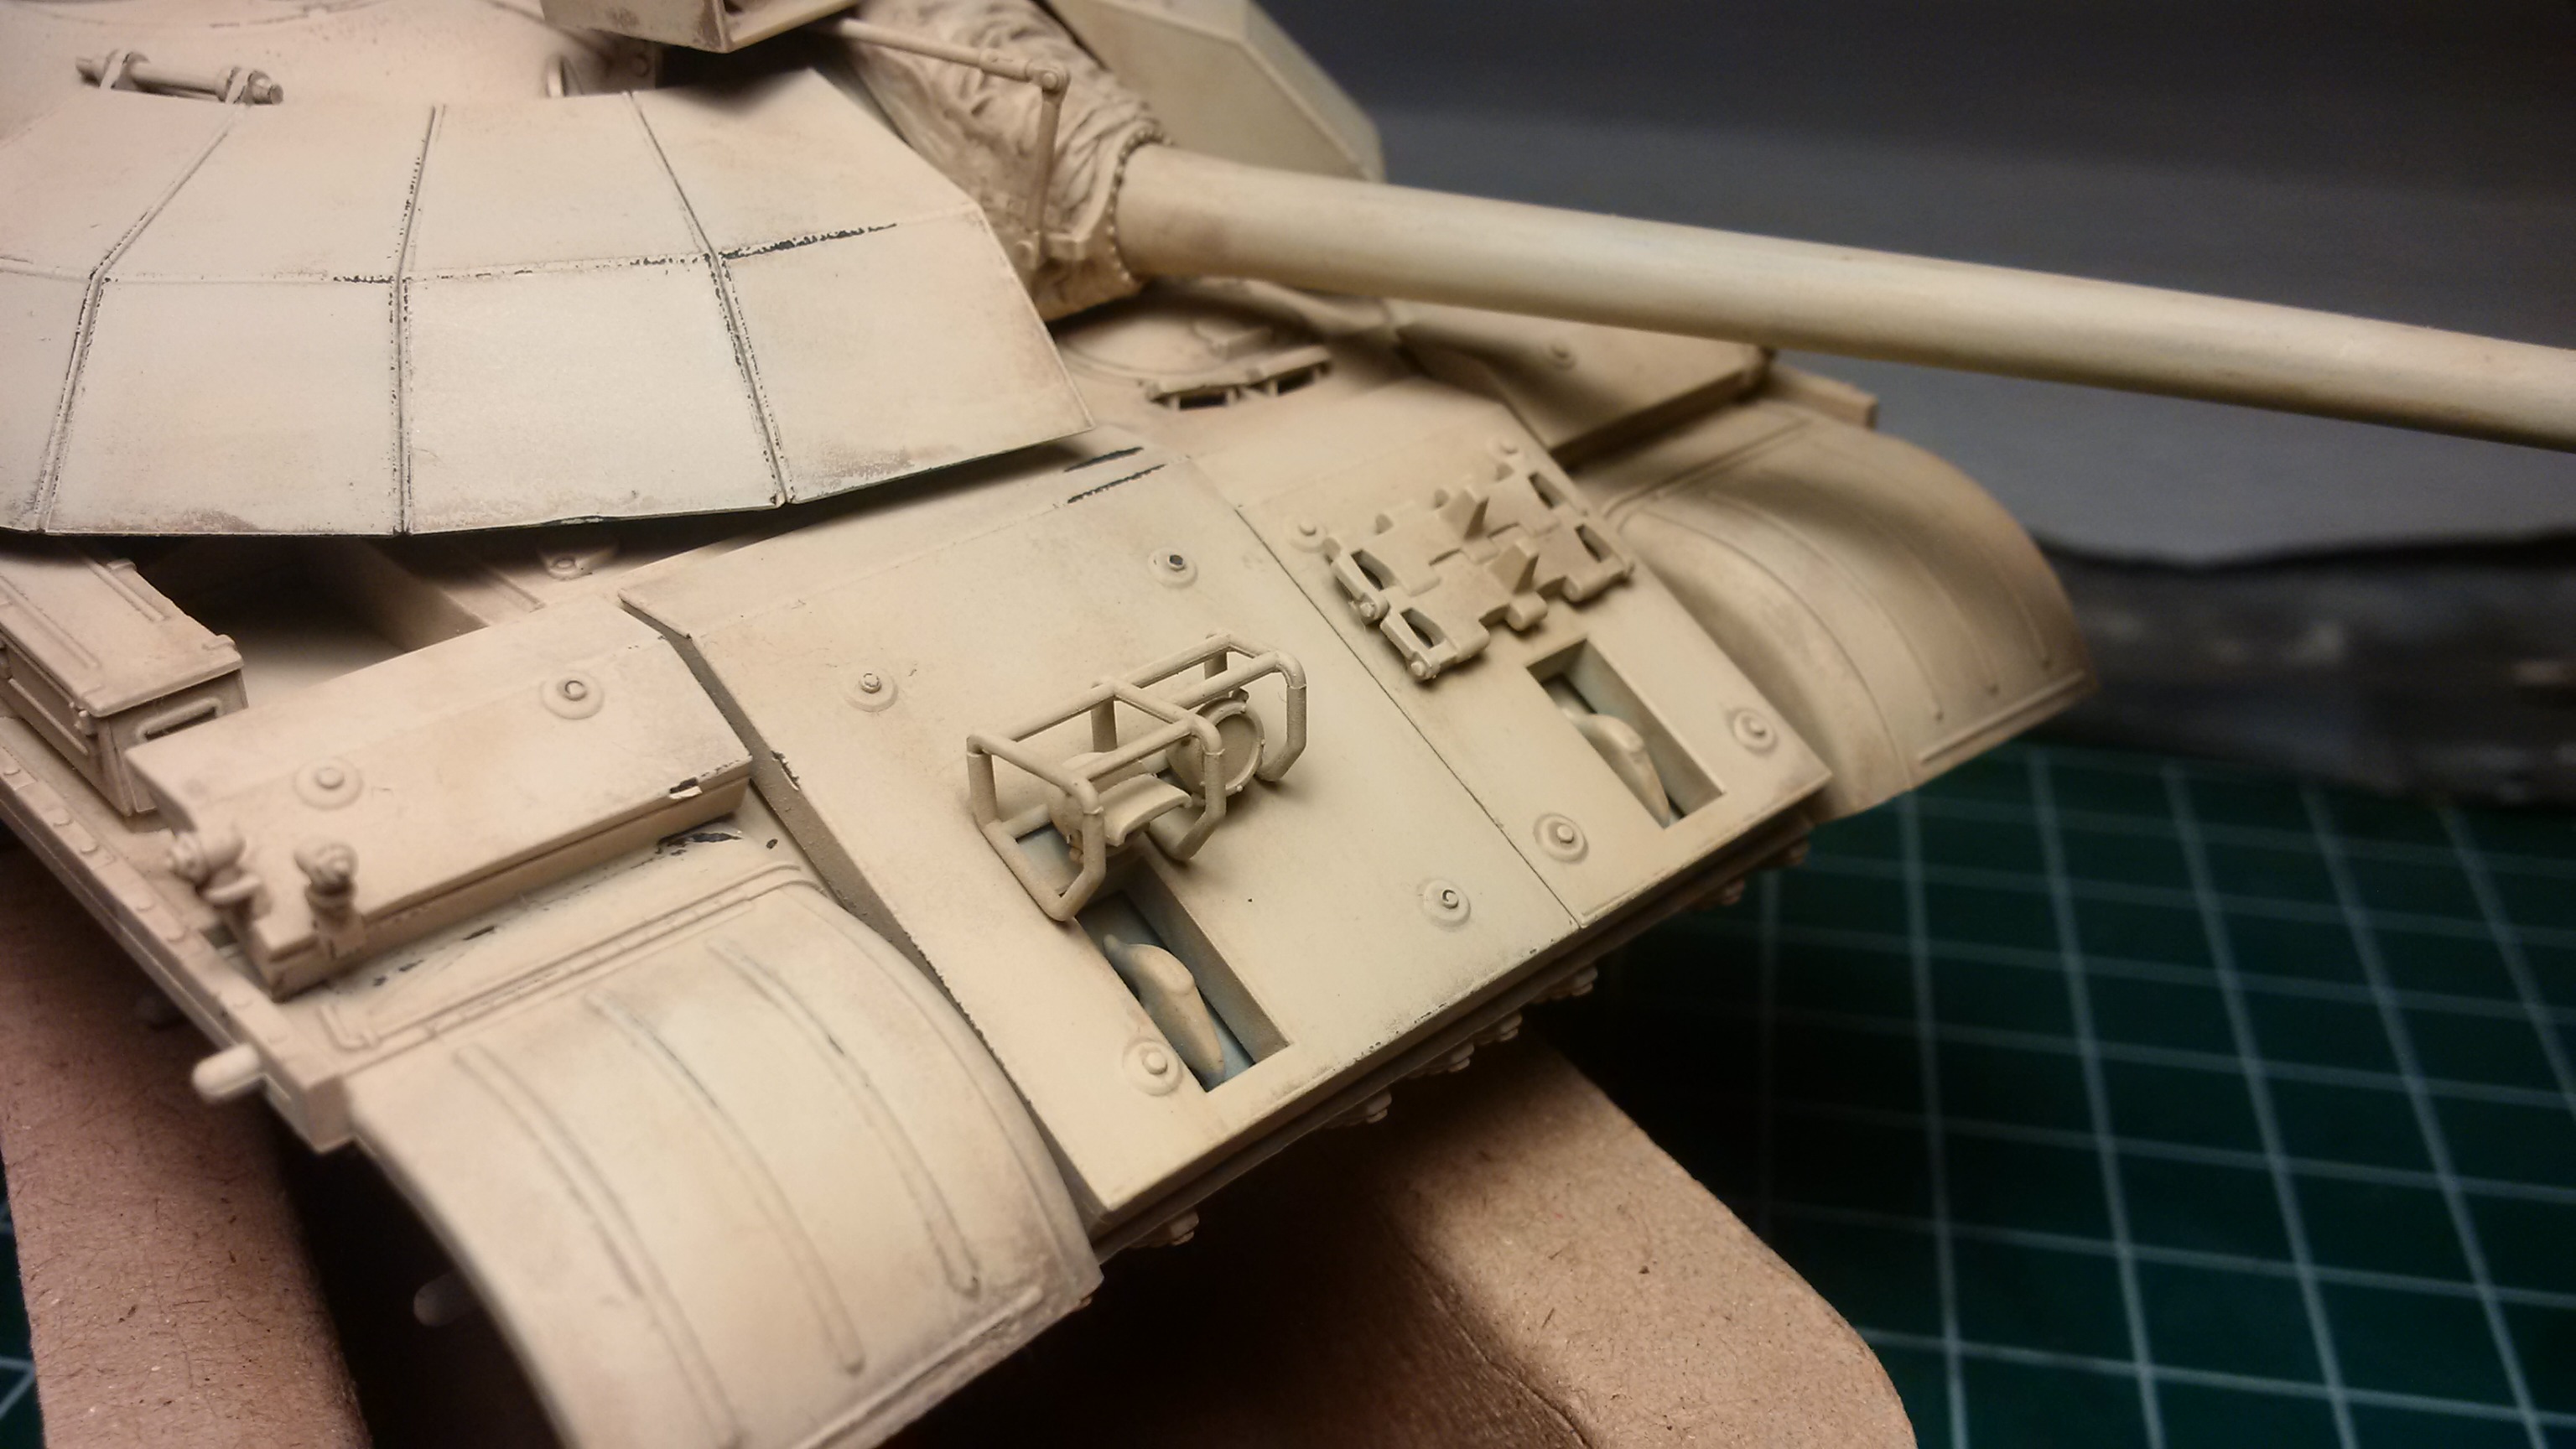
The top side plate is what it looked like, before I figured out how to clean it up. I don’t think it gives totally representative sample of what a disaster the rest of the body was though. So, you will just have to take my word for it.

Fortunately I was able to salvage it, but using some Testor’s thinner to clean things up and inadvertently actually cause some chipping that I think is a happy by-product. Mineral Spirits did not work to reactivate the oil paint wash.

Maybe someone can explain to me why not?

So here is what we ended up with:

Mi-24 Paint and Primer

IMG_3570IMG_3574

Vajejo Black Primer applied to the entire model. The result was pretty good, but I did get some texture on the model. I’m not sure what caused. I thinned it and I think i have my pressure was dialed in pretty good for the paint (30-35 psi). I think I need to clear the airbrush tip more often while I’m spraying. We press on!

IMG-20140405-00210IMG-20140405-00209

The first color, Africa Khakibraun Model Masters Enamel, is sprayed on the entire model. I cut out the camo masking which tool a hell of  a long time, but I’m pleased with the patter I achieved.  Once again got a bit of texture in a few areas.  On to the next color.

IMG_3585IMG_3584

The masking has been peeled off – a very satisfying process indeed. I had to push the girlfriend away so she wouldn’t do it all by herself. Having the two colors side by side shows a great contrast and makes the first color appear more green which is exactly what I was hoping for. The second & main color was Model Masters Afrika Grunbraun Enamel. I find it very interesting how much the lighting changes the appearance of the model. You’ll see what I mean when you compare the first pictures to the ones below.

IMG_3588IMG_3587

IMG_3586

At this point I noticed that I did not install the pin for the back rotor that was supposed to be inside when the 2 main halves were joined. Bummer, but not a big real. I found that it works just fine if I glue the rotor to the pin and sand of the end, I can still insert it into the hole. The pin is long and the fit is tight enough that it rotates but still stays in. I think I missed the step intentionally at the time so it wouldn’t interfere during the painting process. This is it for now. I have a few parts left over that require paint and primer: the landing gear assembly, rotors x2, weapons, and wind shield wipers. This thing should come together real quick once I get a bit of time in the paint booth.

Prepped and Ready – Starting Point

 IMG-20140325-00193

The main body has been assembled, filled and sanded, all internals have been painted as well before the two main fuselage halves were joined. Getting to this stage was rather a painful process. The kit has all sorts of fit/alightment issues when it comes the internal troop bay. The two halves simply would not join together leaving a quarter inch gap along the belly. After trying to make the darn thing fit for an hour, I blew out the back wall of the troop compartment and made a decision to present the compartment doors closed. Filling and sanding the body took a while especially around the round parts for the engine intakes above the canopy. One of the things I particularly did not like was the  the way the clear and sidewall detail parts for the inside are molded together. Its the first time I encountered and found it weird to paint them. At the end it did not make much of a difference due to the decision to close the bay doors.

For the first time I also attempted to mask of the cannopy in an attempt to have the camo pattern carry over to the part as well. The undual rounded shape made it challenging and consumed atleast a few hours, adding one short, thin strip at a time. I think it turned out pretty well, but won’t be able to see the result until all the masking is removed at the end.