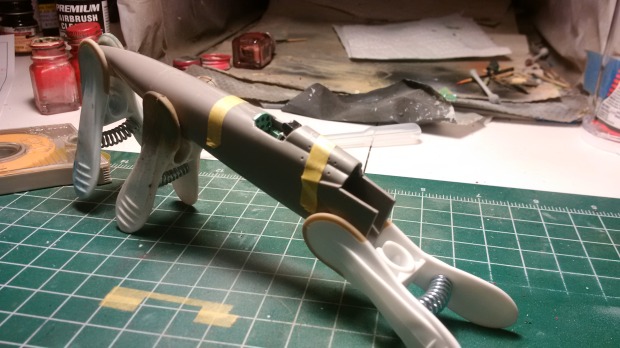
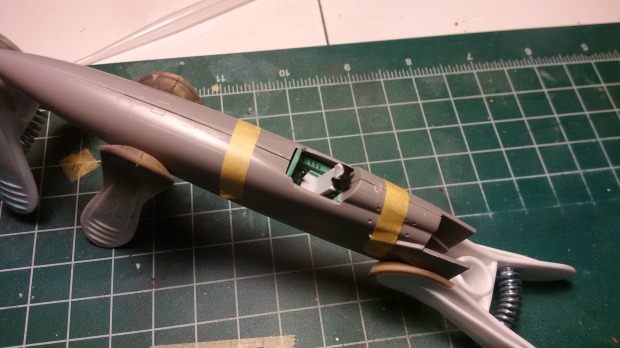
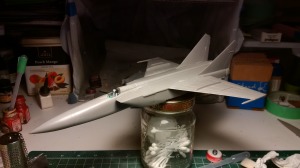
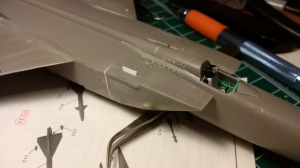
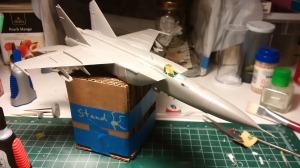
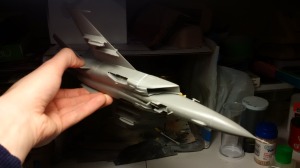
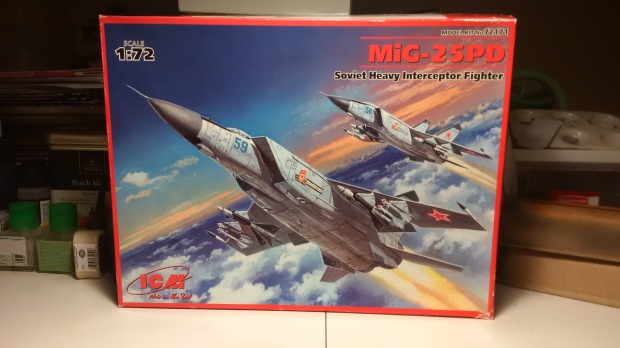
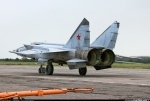
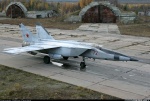
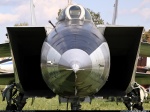
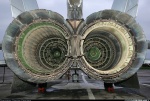
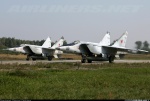
Took a while, but the assembly of the MIG is basically complete, anything that’s not attached in the pictures is probably getting painted separate. Overall the build has been very challenging and slow. This simple kit that I was expecting to throw together in a few days has dragged on forever because of horrendous quality and design.
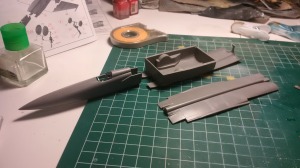
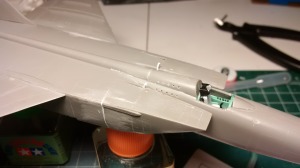
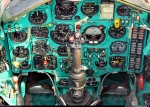
Not a lot of detail in the cockpit, not even a decal, most of what you see are just paint blots that I added to give a little visual interest. The main cockpit tub did not fit well into the nose piece even after I cut off quite a bit of material to reduce the width. Having to make something fit by using the hobby knife speaks about the quality of the kit. As you can see, there was still quite a gap that had to be seriously filled and sanded.
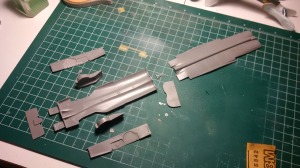
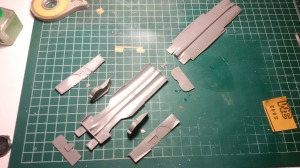
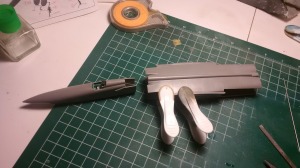
I got a lot of anxiety once I saw the instructions on how the fuselage is supposed to be put together, look at all the parts. The instructions are not very clear either, there are no locating pins or any kind of lip to help with alignment.
At one point I kind of gave up stressing out over the fit and just went for it. At the end it worked out alright, but just like the cockpit tub, I had to remove a lot of material to hide the issues.
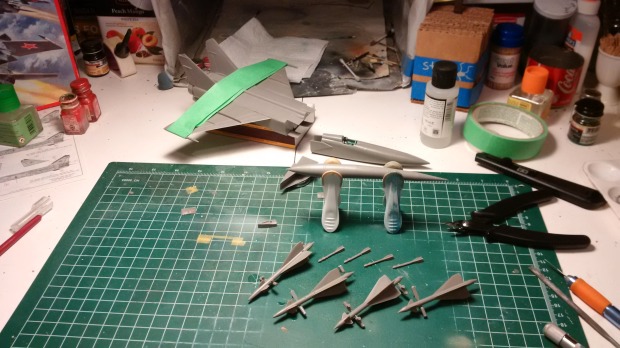
I didn’t get as many issues with the wings as I was expecting, they went together pretty well. While those were on the go, I went ahead and cleaned up flash from all of the ordinance provided. The fuel tank was a bit of a pain in the butt. It required quite a bit of filler and the one centre mount did not have a any locator pins to help with the attachment and kept falling in, it’s the running theme for this kit.
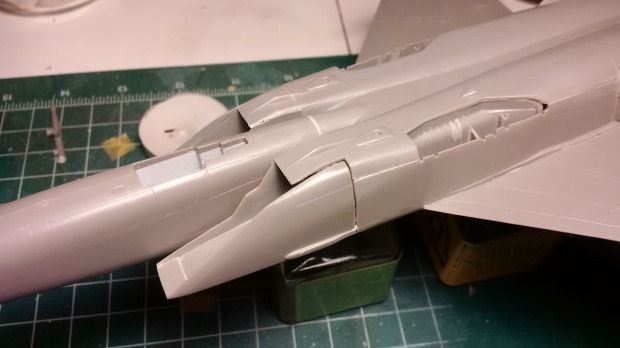
I don’t seem to have any pictures of the air intakes in pieces, but they were very problematic. First, there was the individual assembly of the intakes and then the fit with the rest of the body. Even after I removed a lot of material to help with the fit (cutting of a few millimeters), there were still major gaps. I thought it looked close enough eventually and instead of continuing to cut, I used a styrene sheet to to fill the gaps.
I’ve been very impressed how well this technique works for filling large gaps. First, pick the right thickness of the styrene sheet and the cut of a piece long enough to fill the gap. The small patch you’ve created, goes into the gap and get’s cemented in. When it’s dry, cut off the excess and it’s done. I highly recommend this technique compared to using filler, it’s super fast and produces nice results.
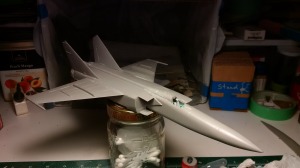
The bird is now all ready for paint. I’ve left off the landing gear and landing bay doors. I just see those things getting in the way and breaking off. I hope all the work so far is going to be worth the effort and tears. I look forward to painting to be much enjoyable. I have a new Iwata Neo to test out!
