Armor

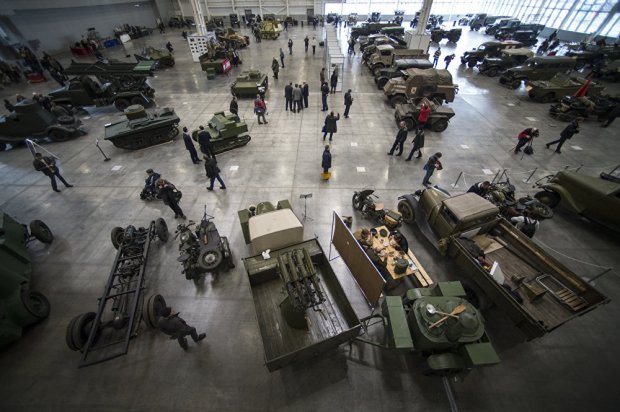
Motors of War Exhibit

Motors of War 1.jpg


http://sputniknews.com/photo/20160320/1036611651/motors-of-war-photos.html

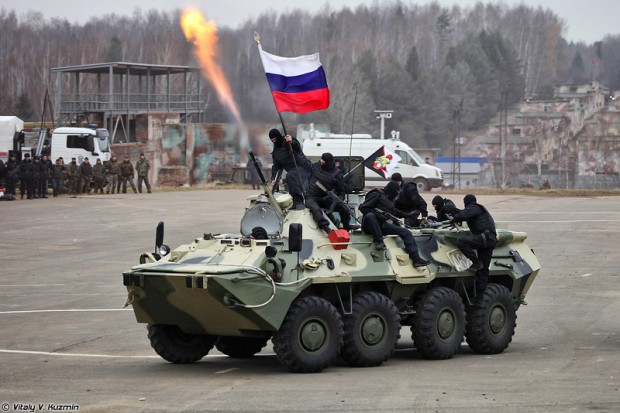
This morning saw this while reading the news and figured you guys might appreciate a few picture references. I haven’t see any other good picture collections from the show other than this. Please post a link in the comments if you find another good source.

БТР-80! – PART 3 – Complete

I find it interesting how some parts of the projects seem to drag on and when you think there’s still such a long way to go, you all of sudden find yourself standing on the finish line.

The model was covered with a clear satin layer of Rustoleum spray can, which I personally consider more semi-gloss, in preparation for decals (which didn’t help with silvering like I was hoping). I did quick dark brown pin wash on the recessed panel lines, a bit of clean up with a flat brush/q-tip followed. I had to go through the exercise of drilling new mounting holes on all the road wheels. It turned out that one of the pieces in the suspensions assembly was installed upside down causing the wheels to no longer fit under the wheel wells. However,with my minor adjustments, it worked out pretty good as you can see.

The last step was to add a few decals and cover everything with micro-flat coating. I only used the the numbers decals as these are the only marking that I saw on my reference pictures. They worked pretty well, even though I had my initial concerns about the quality and yellowing. Finished!

In summary then, I’d like to wrap up my experience with the kit. Something I haven’t really been doing with my other kits.

The Good

  • Cheap kit, I think I got it for something like 10$ in St. Petersburg
  • Great finished Product. I think the 3 color camo works really well with it.
  • Experience with a new vendor, interesting to try something new.
  • Good amount of detail on the kit once assembled and painted.
  • Loads of reference material available online. I definitely got side tracked researching and browsing.

The Bad

  • Generally unimpressed with the quality of the kit, very heavy, lots of injector pin marks/channels and large locator pin marks for railings. Did not enjoy the assembly/clean up processes
  • Poor instruction layout and a few unnecessarily complicated assemblies with little parts were frustrating
  • Not many decal options for the kit, only used 2
  • No Clear Parts for telescope ports, front lights, or tail lights.
  • I wish there were more optional parts included with the kit

I’m glad I’m finished and am glad that it ended on a positive note. I get to move on with some enthusiasm for the next build. I don’t think I would ever build another one of these particular kits to avoid the same frustration even though it’s probably a good bang for your buck. That’s not to say that I wouldn’t build another BTR, on the contrary, but I would try a different vendor. I would also definitely try some of the newer kits by Zvezda, from what I’ve seen their new products have superb detail and quality – head and shoulders above what I had to work with here.

БТР-80! – PART 2 – Paint and New Technique

Majority of the base painting is complete. It was a complete reversal of my attitude towards the build. It went smoothly, was trouble free, and I loved it. There was a bit of filling that had to be done, but I didn’t stress over the major gaps that I mentioned in the previous post, since unless you’re looking at it from the bottom, you will never notice it.

I did a base of grey Vallejo primer, which made the application of my first color camo color (Model Masters + Testors Yellow) super easy. I got good coverage and only had to do two light coats.

Next Things got interesting, it tried out a new masking technique I saw on youtube (I’ll post a link in the comments), it involves sticky tack and a plastic bag, I used plastic wrap for mine. I did both the green (testors flat green + black) and flat black in this manner. It’s super quick and gives you a lot of control and creativity over the camo design. I would suggest this to everyone to tryout at least once.

Now, I’ve got the wheels left to do, which I already masked off and the decals. I might do a bit of light weathering, but as I said from the beginning, that was not my objective for this project.  I’m a bit concerned about the decals, because they look like they’re a bit yellowed and have a lot of carrier film, but am not sure how that will turn out. Sorry, it’s not the best picture of decal sheet, but let me know if you think it’s worth it trying them. I will appreciate the feedback. Maybe a basic stencil might be better for writing the unit #?

БТР-80! – Part 1 – Assembly :'(

I was really excited at the start of this build, but got bogged down in the assembly and parts clean up. All my excitement for the subject matter and kit manufacturer got brought down by the poor sprue quality and poor (in my opinion) instructions.

IMG_20150529_230725

I ended up screwing up the suspension assembly shown above. Part B9 was installed upside which does not leave enough room to mount the road wheels. Nothing I can do at this point but try to make it work.

IMG_20150605_215343

Really did not enjoy how this kit had duplicate sprue and instructions showing parts times two (x2) without showing a picture of the other side. The side door in my opinion had too many parts for what it was worth. Considering that things were not fitting well to begin with, throw in a bunch of cumbersome, flimsy, small parts and the result speaks for it self. The side door area is the one area with the biggest gaps….

 Please feel free to let me know if these instruction in deed look poor based on your experience or I’m just being picky. I’m curious to get a little feedback since this was a real struggle.

IMG_20150529_231358

Nonetheless, I made a due with what I had and yesterday finally finished the assembly. I won’t dwell on it much more, but I really did not enjoy the process thus far even though the kit itself is looking pretty nice and has nice detail.

Well let me know what you think. I’m going to do some gap filling and sanding and then it off to paint. Like I said in the build write up before, I’m going to be looking to do a 3 tone paint job, like the on the left in the picture below. I might even try to free hand instead of masking but not convinced yet.

Camo Options

T-55 ENIGMA PART 4.1 – FINISHED! (Actually)

After posting the “final” post of the project, I was not entirely happy with how the pictures turned out. So last night I went back to the lab to make a few minor adjustments to the model.

  • Blacked out the front headlights, like it is on the box art
  • Filled in the viewing ports with Elmer’s White glue, since no clear parts are provided with the kit
  • Added soot to the cannon and side exhaust (really please with this effect :D)
  • Darkened the tracks, I thought they just looked too bright and colorful. (*view here to compare*)

I tried taking a few pictures under natural light to see if I get a better result.

T-55 Enigma Part 3 – Sneak Peek

Looks like I’m pretty much wrapped up. Last night, I sat down to work on the tracks and ended up pretty much wrapping up the project. I didn’t have time to to take more pictures, nor do I have have much time this morning, so I decided to drop this little teaser for all of you. I will probably make the final post on Friday night – Saturday morning.

IMG_20150311_221212

T-55 ENIGMA PART 2 – PAINTING

Assembly is completed and I am well into the painting process.  At this point, after this post I will only have the tracks and some additional weathering to do, which fingers crossed will be really quick. Quick by my standards anyways, I’m forever impressed how much quantity and quality work some of you are able to put out.

IMG_20150207_144118 IMG_20150207_144008 IMG_20150207_144053

Priming was quick and painless. I ended up doing a bit of a test on a few parts to check my color selection. I had a few colors that I thought would work, but it’s funny the way colors change the way they look in the bottles looks to being on the model. Tetors Model Masters – Sand ended up the winner and I’m glad I didn’t pick the darker colors. The pictures above show only one coat of the sand and look different than the final product due where the primer isn’t still showing through.

At this point, I had to do a bit of sanding on the lower part of the turret. The fit of the turret was so snug that when it was attached and rotated, it scraped away some of the primer. After the sanding of the locator pins, it was perfect and the issue didn’t come up again.

It took me no time to paint the T-55. I was spurred on to keep going after my purchase of the Pledge Floor Finish or Future as most people know it. Everyone know’s that feeling of instantly needing to try something right after buying it! So I cover the model with “Future” and attempted to give it a wash.

<< No pictures got take here, sorry >>

To make my wash I ended up mixing my dark brown, yellow and white oil paints in some mineral spirits. However, it was not as thin of a solution as I should’ve had, so I thought I ruined the model. It looked like it got smeared with mud.
IMG_20150219_215614

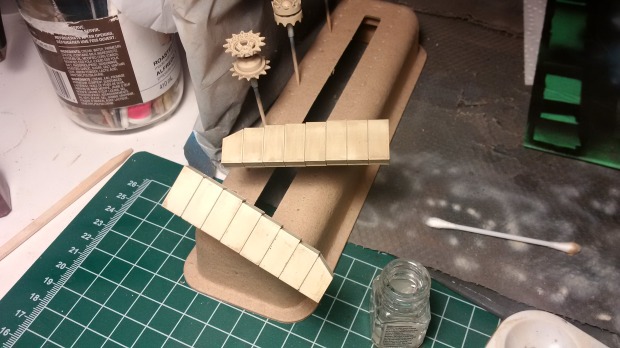
The top side plate is what it looked like, before I figured out how to clean it up. I don’t think it gives totally representative sample of what a disaster the rest of the body was though. So, you will just have to take my word for it.

Fortunately I was able to salvage it, but using some Testor’s thinner to clean things up and inadvertently actually cause some chipping that I think is a happy by-product. Mineral Spirits did not work to reactivate the oil paint wash.

Maybe someone can explain to me why not?

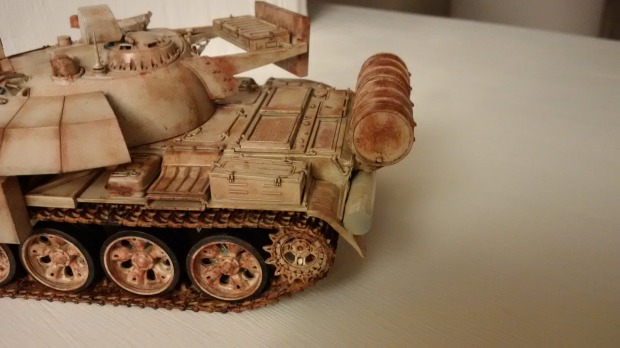
So here is what we ended up with:
T-55 Enigma Part 1 – Assembly

First build of the year is going to be a 1/35 T-55 Enigma. I’m starting to developing a bit of stash of kits, so I’ve decided to actually start building instead of buying. This is a good place to start. Although I’ve never heard of this variant before, T-55 is still my favorite soviet tank.

Tamiya T55 1/35

It’s been a great kit so far, my first Tamiya build. The quality is leaps and bounds better than the Lindberg I just finished. Everything has fit together flawlessly and with minimal cleaning on the parts. It probably explain why everything has come together on such a short timeline compared to my last project. The ease of the kit certainly adds to one’s enthusiasm. That is not to say that I didn’t encounter some challenges.

As you will see from the first picture in the gallery, some of the parts are really petite and i’m not really used to working with so many of them. The main headlight and the DShK machine gun on the turret were a particular pain. I wonder if a better set of tweezers would help. Looking forward to painting and weathering!